Crochet Picot Stitch: How To + 10 Picot Crochet Patterns
The picot crochet stitch is a wonderful addition to any crochet afghan. Learn all about it and how to do it.

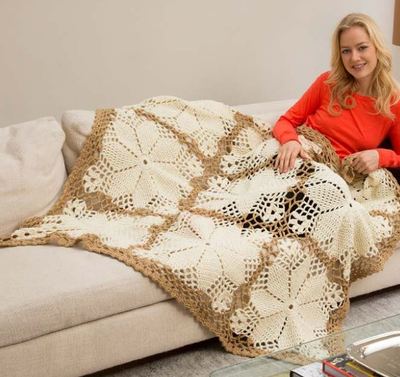
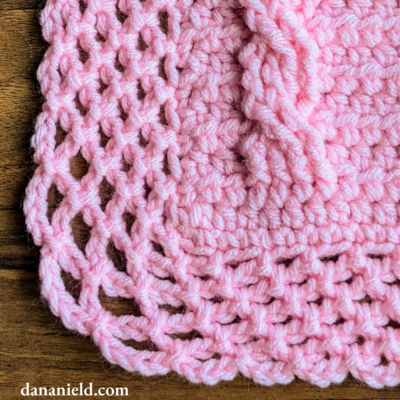
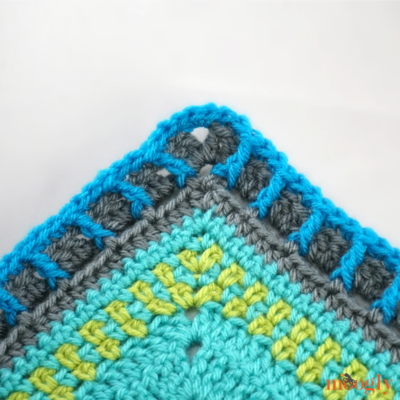
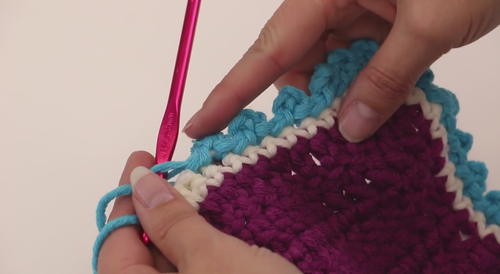
Although it can be used as the only stitch used for a crochet afghan or other crochet pieces, the picot stitch is primarily used as an edging to finish afghans, baby blankets, pot holders, and other decorative designs.
With this Crochet Picot Stitch: How To + 10 Picot Crochet Patterns page, we will provide an overview of this popular stitch and then provide you with a couple of tutorials and free patterns to try.
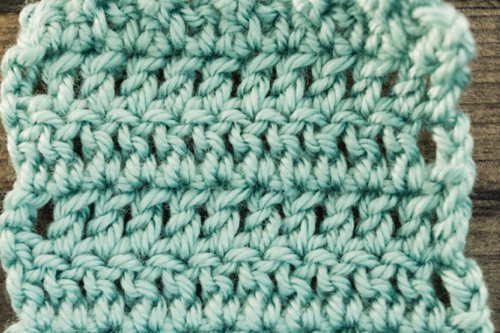
Picot crochet is essentially creating peaks or "nubs" sticking out from the straight stitches. The beautiful appearance of these peaks adds an incredible amount of elegance to any project.
Some picot patterns involve only chaining and slip stitching but you will also find picot patterns that use chains, slip stitching, as well as single crochet. There are also double crochet versions and other variations. The first tutorial we will show you is only chaining and slip stitching and the second adds single crochets into the process.
The crochet picot stitch is easy to learn and master. It's also simple to adjust for larger or small peaks. Once you get the hang of this handy crochet stitch, you will want to add edging to all of your creations.
Our sister site, AllFreeCrochet, has a wonderful article on Crocheting a Picot Stitch that you should check out as well.
If you are a visual learner, check out this picot stitch video tutorial.
You will find the written tutorial for this pattern below.
Picot Stitch Tutorials
Picot Crochet Edging Tutorial:
This tutorial is for a chain 3 picot.
If you want to follow along in real time, click here to watch the video tutorial from our in-house crochet expert, Chris.
-
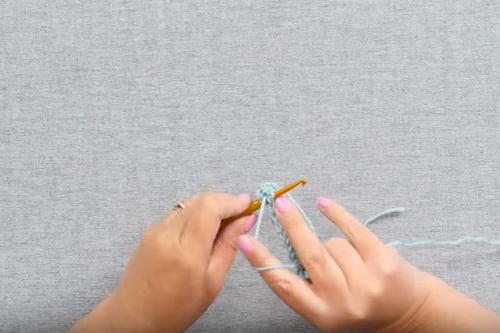
Crochet 3 chains.
-
Push hook back into the stitch you last chained out of.
-
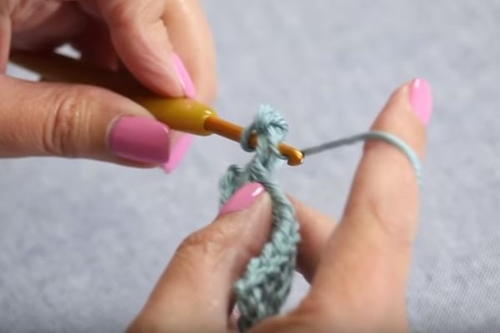
Crochet 1 slip stitch.
-
Crochet another slip stitch across to the next.
-
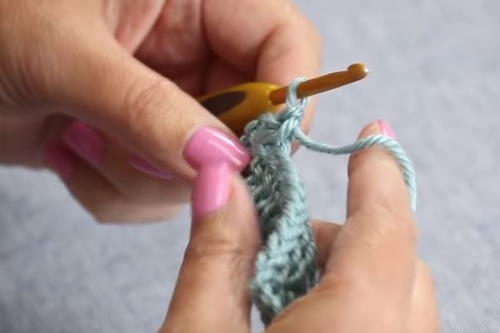
Keep working by repeating what you have already done. Repeat Step 1 and chain 3. Repeat Step 2 and push the hook back into the last stitch. Repeat Step 3 and slip stitch to form a picot. Repeat Step 4 to move to the next picot stitch.
-
Continue the process until your picot edging is finished.
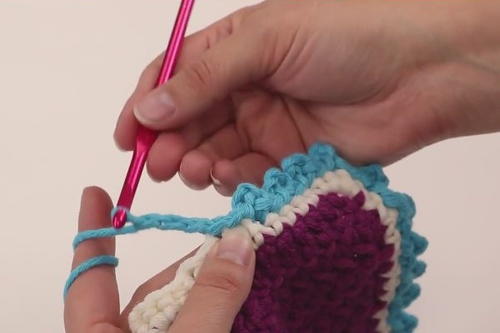
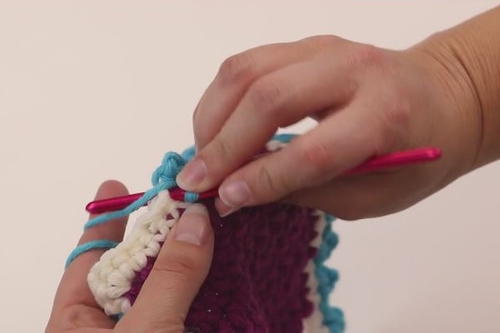
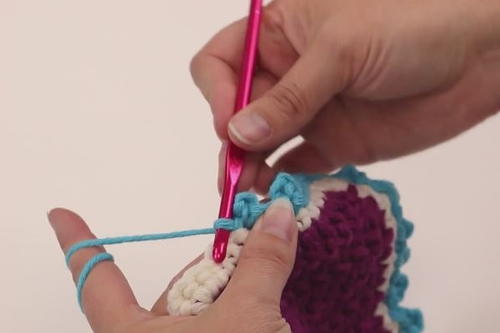
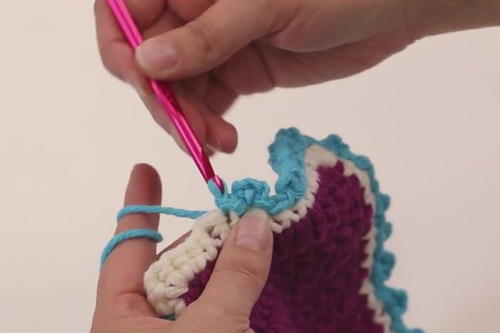
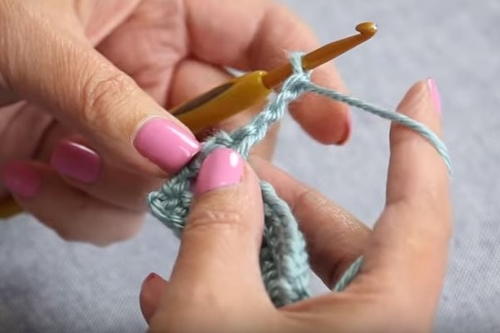
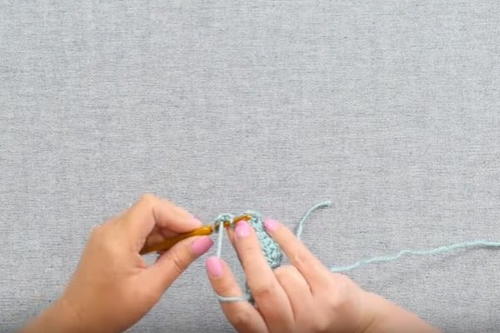
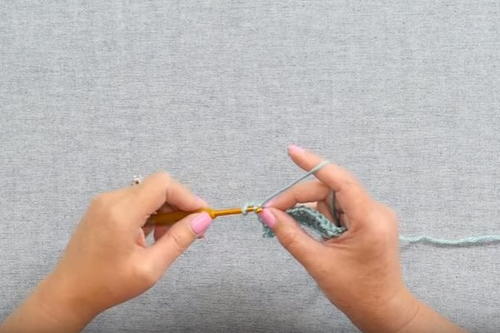
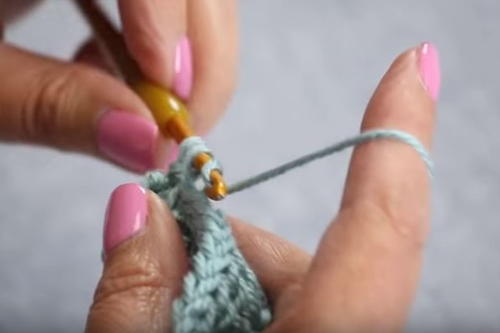
Picot Crochet Stitch Tutorial:
This tutorial is for a chain 3 and single crochet picot. These instructions are the same for a right-handed crocheter but the pictures show a left-hand crocheter.
If you are a visual learner and want to watch the left-handed picot stitch being crocheted, click here to watch the video tutorial from crochet expert, Kathy.
-
Insert your hook into the stitch.
-
Yarn over and pull up a loop (slip stitch).
-
Make a single crochet.
-
Chain 3.
-
Insert hook into the stitch you last chained out of.
-
Yarn over and pull up a loop (slip stitch).
-
Insert hook into the chain stitch and crochet a slip stitch to close it off.
-
Keep working by repeating what you have already done, Steps 1–7. Keep working it until you are finished with your piece.
Picot Crochet Patterns
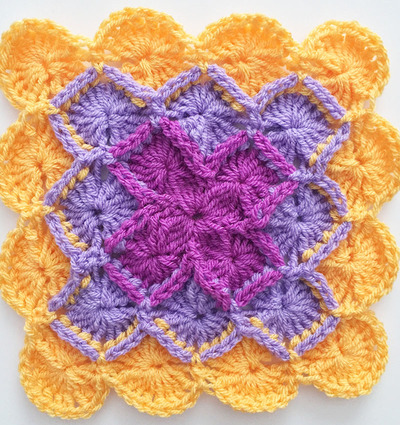
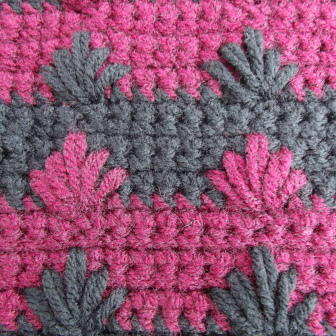
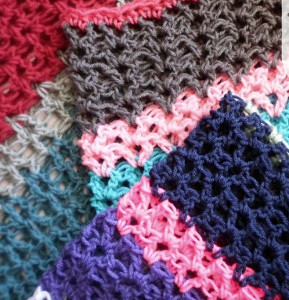
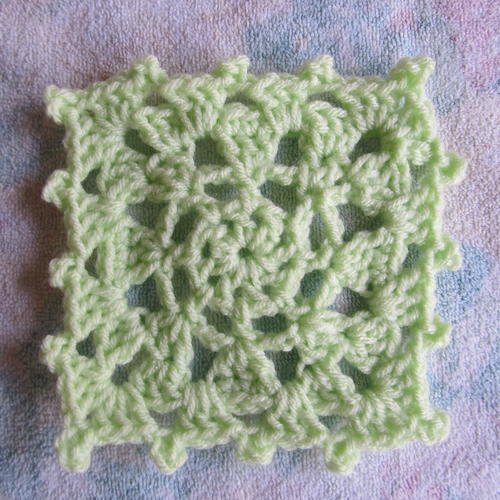
The crochet picot stitch is often combined with other stitches for full projects, as you will see in the free patterns below. These all involve the picot stitch but may use several others as well. It all depends on the style of the pattern.
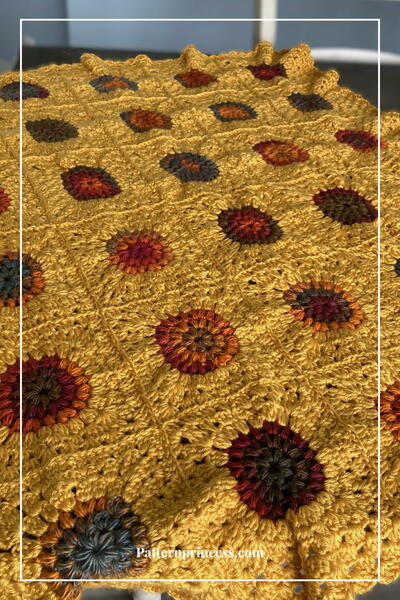
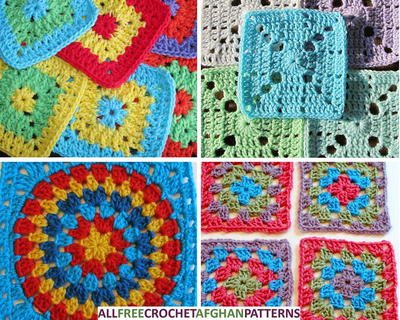
Find granny squares, baby blankets, and afghans with the picot stitch edging. Find even more patterns on our picot stitch tag page. You will see all the different ways it can be used and how pretty it makes the finished product.
-
-
-
-
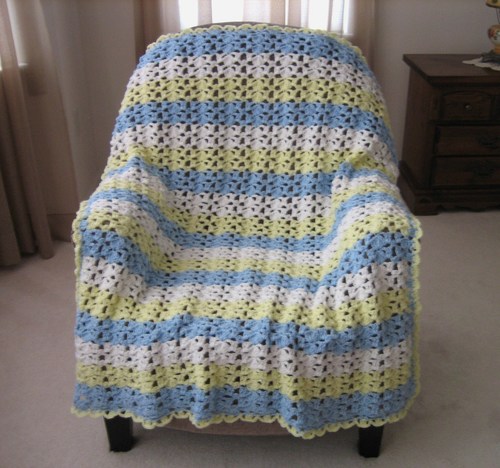
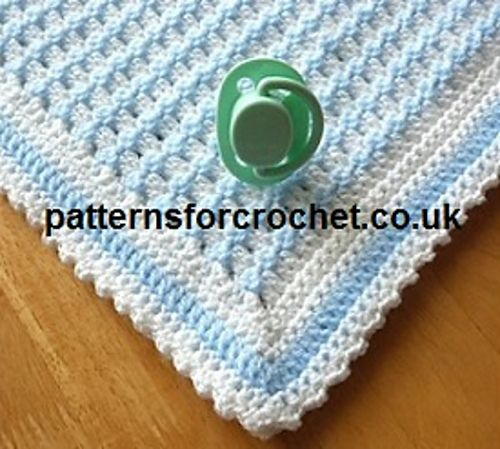
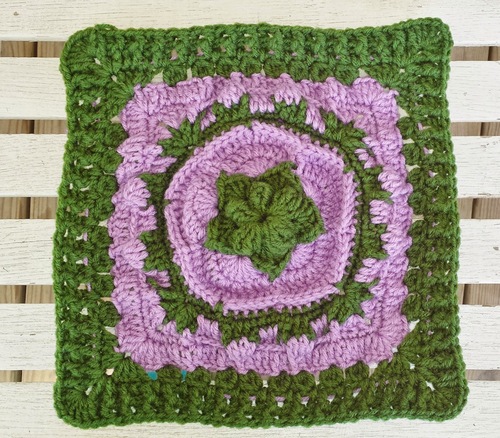
Blueberry Waffleghan
The designer of the Blueberry Waffleghan, Heather from Patterns for Crochet, says,
"On this particular pattern I loved the way the stitch raised on alternate rows, but the picot is an easy (1sc, ch2, 1sc) into same stitch or space and is good for a beginner crocheter I think."
-
-
-
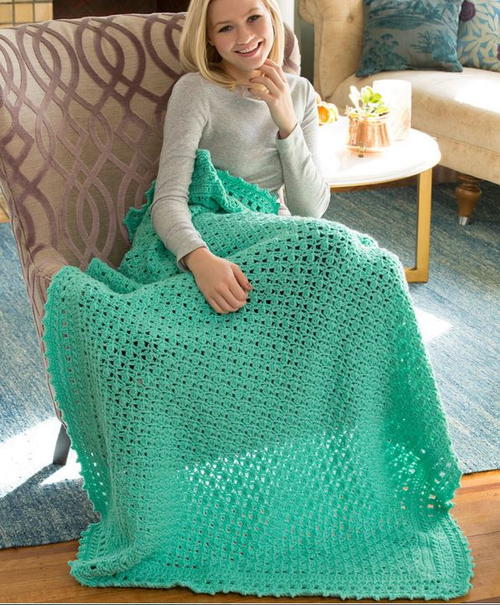
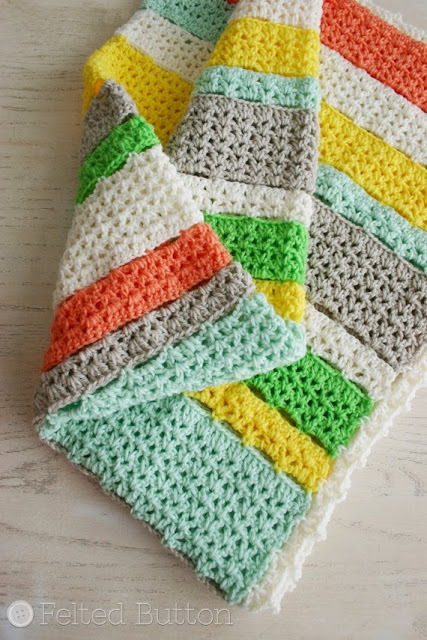
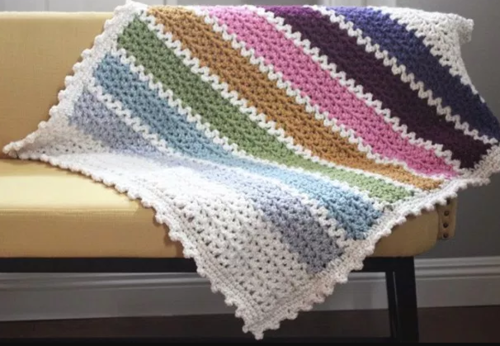
Citrus Stripes Crochet Afghan
The designer of the Citrus Stripes Crochet Afghan, Susan from Felted Button, says,
"For me, picot stitches are the perfect finishing touch for a crochet border by adding interest and a little bit of fancy. I've used them in stitch patterns worked in rows and rounds before, too, where they add texture as they pop out from the surface. It's a simple and quick way to make a point. For example, it easily changes a simple shell into a leaf or petal, so I often use them for shaping, as well as defining corners."
-
-
-
What have you crocheted with the picot stitch?
Let us know in the comments below!
Read NextLacy Crochet Border Tutorial
Your Recently Viewed Projects
Thanks for your comment. Don't forget to share!
Report Inappropriate Comment
Are you sure you would like to report this comment? It will be flagged for our moderators to take action.
Thank you for taking the time to improve the content on our site.