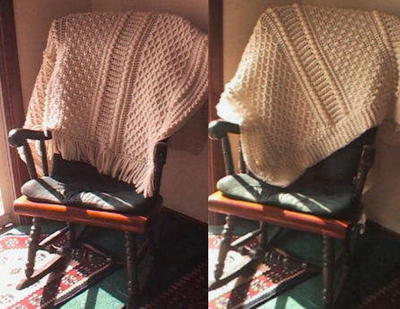
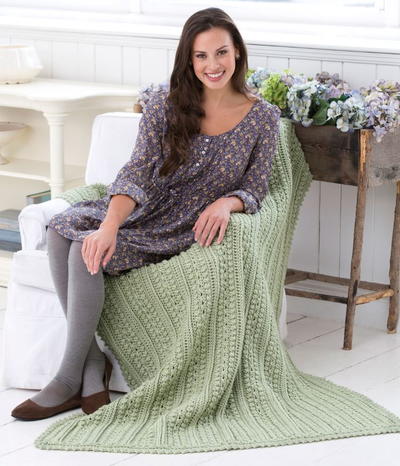
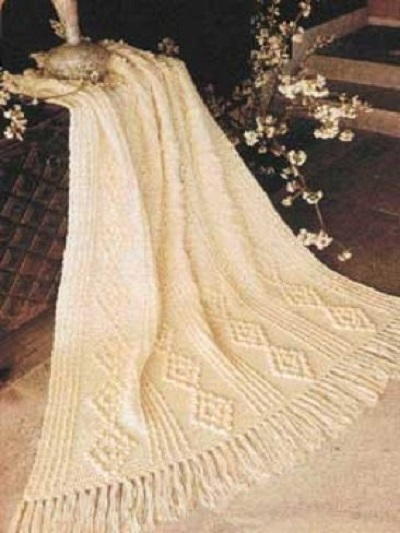
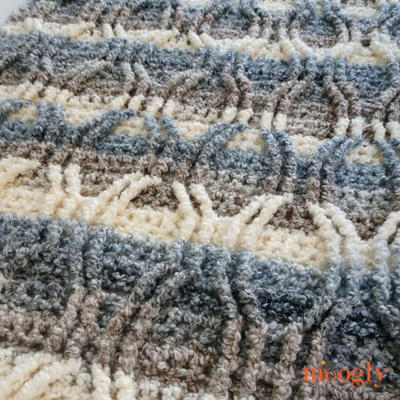
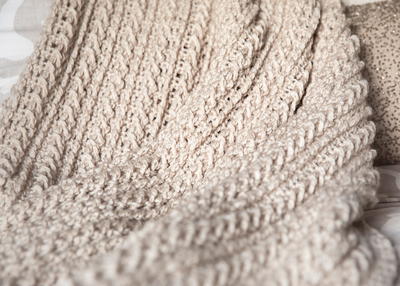
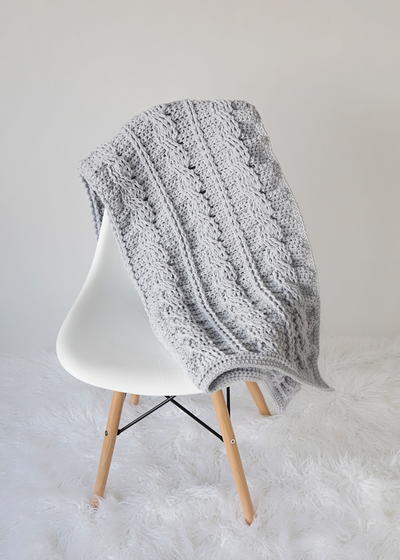
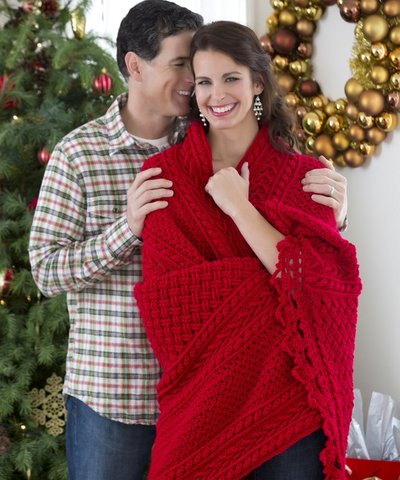
Heavenly Holiday Cables Throw

Get ready to be wowed. When it comes to stunning crochet afghan patterns, the Heavenly Holiday Cables Throw truly takes the cake. This beautiful berry colored blanket uses an array of crochet stitches to create a textured masterpiece. Crochet cable stitch, basketweave stitch, and more can all be found in this divine little blanket. A lace edging along the end is the cherry on top of a nearly perfect pattern. Create a truly stunning crochet afghan for your home with the help of this beauty!

Crochet HookJ/10 or 6 mm hook
Yarn Weight(4) Medium Weight/Worsted Weight and Aran (16-20 stitches to 4 inches)
Materials:
- RED HEART® With Love® Yarn, 8 skeins of 1909 Holly Berry
- Susan Bates® Crochet Hook: 6 mm [US J-10].
- Yarn needle
Gauge: 14 sts = 4” (10 cm) in pattern. CHECK YOUR GAUGE. Use any size hook to obtain the gauge.
Throw measures 45” (114 cm) wide x 60” (152 cm) long
Note: Throw is worked from long edge to opposite long edge.
SPECIAL STITCHES
- Bpdc (Back post double crochet) = Yarn over, insert hook from the back side of the work to front and to back again around the post of the indicated stitch on a previous row; yarn over and pull up a loop (3 loops on hook), [yarn over and draw through 2 loops] twice.
- Bptr (back post treble crochet) = [Yarn over] twice, insert hook from the back side of the work to front and to back again around the post of the indicated stitch on a previous row; yarn over and pull up a loop (4 loops on hook), [yarn over and draw through 2 loops] 3 times.
- Fptr (Front post treble crochet)= [Yarn over] twice, insert hook from the front side of the work to back and to front again around the post of the indicated stitch on a previous row; yarn over and pull up a loop (4 loops on hook), [yarn over and draw through 2 loops] 3 times.
- WS (Woven stitch) = Yarn over, insert hook in designated st, yarn over and draw yarn through st AND draw yarn through 1 loop on hook, yarn over, draw yarn through 2 loops on hook (first half of WS completed); yarn over, insert hook in same st, yarn over, draw yarn through st AND through 2 loops on hook (second half of WS completed).
- 3-tr cluster: *[Yarn over] twice, insert hook in designated st, yarn over, draw yarn through st, [yarn over, draw yarn through 2 loops on hook] twice.; repeat from * 2 more times, yarn over and draw through all 4 loops on hook.
THROW
Ch 177.
Row 1 (Wrong Side): Sc in 2nd ch from hook and in each ch across, turn—176 sc.
Front Ridge Pattern
Note: Both rows of the front ridge are worked into the sts of the same previous row. The first row (Row 2) is worked into the front loops only. The piece is turned and the next row (Row 3) is worked into the free loops of the same row (the free loops are in the front after the piece is turned).
Row 2 (Right Side): Ch 1, working in front loops only, slip st in each sc across, turn—176 slip sts.
Row 3: Ch 1, working in free loops of sts of previous row, sc in each sc across, turn—176 sc.
Cable Pattern
Row 4: Ch 1, sc in first sc, *ch 3, skip next 2 unworked sc, sc in next sc, TURN and work sc in each ch of the ch-3 just made, slip st in the next sc (one cable made), TURN; working behind the cable, sc in each of the 2 skipped sc, skip the sc that was made after the ch-3; repeat from * across to last sc, sc in last sc, turn—58 cables.
Note: In the next row, you will work a sc in the first and last st, and 3 sc evenly spaced behind each cable (on Wrong Side). The 3 sc behind each cable are worked into the sc that were worked into the 2 skipped sc. Work sc in one of these skipped sc and 2 sc into the other. Do not work into the sc of the cables. Push the cables towards the Right Side of the throw as you work.
Row 5 (Wrong Side): Ch 1, sc in first sc, *2 sc in next sc, sc in next sc; repeat from * across to last sc, sc in last sc, turn—176 sc.
Rows 6 and 7: Repeat Rows 2 and 3.
Arrow Pattern
Row 8: Ch 3 (counts as dc here and throughout), skip first st, dc in next st, *skip next 3 sc, tr in next sc, working behind tr just made, dc in each of 3 skipped sc; repeat from * across to last 2 sts, dc in each of last 2 sts, turn—43 repeats.
Row 9: Ch 3, skip first dc, dc in next dc, *skip next 3 dc, tr in next tr, working in front of tr just made, dc in each of 3 skipped dc; repeat from * across to last 2 sts, dc in each of last 2 sts, turn—43 repeats.
Rows 10 and 11: Ch 1, sc in each st across, turn—176 sc.
Rows 12 and 13: Repeat Rows 2 and 3.
Row 14 and 15: Repeat Row 4 and 5.
Rows 16 and 17: Repeat Rows 2 and 3.
Woven Stitch Pattern
Row 18: Ch 2, skip first st, *work WS in next st, skip next st; repeat across, ending with WS in last st, turn—88 WS.
Note: Next row of WS are worked in spaces between woven stitches of previous row.
Row 19: Ch 2, skip first 2 sts, WS between first 2 woven sts, skip next 2 sts, WS between 2 woven sts; repeat from * across, ending with last WS worked between last WS and ch-2 turning ch—88 WS.
Rows 20–30: Repeat Row 19.
Row 31: Ch 2, skip first 2 sts, 2 sc between first 2 woven sts, skip next 2 sts, 2 sc between 2 woven sts; repeat from * across, ending with last 2 sc worked between last WS and ch-2 turning ch—176 sc.
Rows 32–47: Repeat Rows 2–17.
Celtic Weave Pattern
Row 48 (Right Side): Ch 3, skip first st, dc in next st, *skip next 2 sts, Fptr around the post of next 2 sts, working in front of 2 sts just made, work Fptr around the post of last 2 skipped sts (first “cross” completed); repeat from * across, dc in last dc, dc in top of turning ch, turn—43 crosses made.
Row 49 (Wrong Side): Ch 2, skip first dc, dc in next dc, Bptr in each of next 2 tr, *skip next 2 sts, Bptr around the post of next 2 tr, working in front of 2 sts just made, work Bptr around the post of last 2 skipped tr (“cross” completed); repeat from * across to last 4 sts, Bptr around the post of next 2 sts, dc in each of last 2 sts, turn—42 crosses made.
Row 50 (Right Side): Ch 3, skip first st, dc in next st, *skip next 2 sts, Fptr around the post of next 2 sts, working in front of 2 sts just made, work Fptr around the post of last 2 skipped sts (first “cross” completed); repeat from * across, dc in last dc, dc in top of turning ch, turn—43 crosses made.
Rows 51–70: Repeat Rows 49–50 (10 times)
Row 71 (Wrong Side): Ch 3 (counts as first Bpdc), skip first st, Bpdc around the post of each st across, turn.
Rows 72-117: Repeat Rows 2–47.
Round 118: Ch 1, *slip st in each st across top edge, at corner, ch 2, working in row-end sts, work 135 sc evenly spaced across side edge, ch 2; repeat from * once, join with slip st in first st of round. Fasten off.

FINISHING
Border
Row 1: With right side facing, join yarn in top right-hand corner ch-2 space, working across short edge of Throw, ch 4 (counts as dc, ch 1), skip next sc, *dc in next sc, ch 1, skip next sc; repeat from * across, dc in last ch-2 space, turn—68 ch-1 spaces.
Row 2: Ch 1, sc in first dc, [sc in next ch-1 space, sc in next dc] twice, *sc in next ch-1 space, ch 3, slip st in top of last sc made (picot made), sc in next dc, [sc in next ch-1 space, sc in next dc] twice; repeat from * across, ending with last sc in 3rd ch of turning ch, turn—22 picots.
Row 3: Ch 1, slip st in first 3 sts, ch 3 (counts as dc), 2 dc in same st, *ch 5, skip next 5 sc, 3 dc in next st; repeat from * across to last 2 sts, turn, leaving remaining sts unworked—23 3-dc shells.
Row 4: Ch 3, dc in first 2 dc, 2 dc in next dc, *ch 2, sc in next ch-5 space, ch 2, 2 dc in next dc, dc in next dc, 2 dc in next dc; repeat from * across, turn.
Row 5: Ch 5, skip first 2 dc, *3-tr cluster in next dc, ch 4, slip st in top of cluster (picot made), ch 5, skip next 2 dc**, sc in next ch-2 space, ch 4, slip st in 4th ch from hook (picot made), sc in next ch-2 sp, ch 5, skip next 2 dc; repeat from * across, ending last repeat at **, slip st in top of ch-3 turning ch. Fasten off.
Starting in bottom left-hand corner ch-2 space, repeat border across other short side of throw.
Weave in ends.
Read NextLattice Crochet Cable Pattern
Your Recently Viewed Projects
Thanks for your comment. Don't forget to share!
DebbsSeattle
Aug 17, 2018
I have figured out the repeat to make it longer...129 for anyone looking for a longer length. To make a larger width I suggest increasing how many Woven stitch rows /or more Celtic Weave rows.
Jayayay
Aug 13, 2018
Love this pattern for the holidays. Though really you could hook it in a pastel and voila! A springtime blanket.
Member 7682233
Aug 03, 2018
I am making this now and have gotten to the celtic weave in the middle I have not gotten messed up UNTIL THIS section Be extra cautious and watch Bonnie's YouTube videos on this section if you are messing up This will not be a speed test section I normally crochet for an hour each morning whilst enjoying my coffee I have been displaced by home remodel work is occurring in the kitchen and I have not had adequate lighting in my makeshift spot It has led to undoing several rows not once but twice now I have just decided to set it aside until the work is complete next week Otherwise this blanket is gorgeous Cannot wait till it is complete and I can begin a second one in wool rather than the current acrylic yarn I am using It looks complicated but it really is not The videos are…Read More awesome and Bonnie Barker is a CROCHET GODDESS Thank you Bonnie Bay Crochet
Joan
Jun 01, 2018
Are the sides supposed to fold under? The picture shows the front ridge, cable, front ridge, but not the slip stitch finish row.
eag15119 8377674
Oct 02, 2017
I've made this and it's lovely. The pattern is very well written and it makes up quickly, despite the intricacies. The only thing to be aware of is that it's shorter than you might like, so you may want to make it longer than the pattern calls for.
Cheryl Y
Nov 24, 2016
This is truly a Heavenly Holiday Cables Throw! I just love the color and to put my skills to the test with the different stitches used in this. I have this one on my "Must make" list! I feel this one can be a family heirloom. It's just beautiful! Thank you so much for this free crochet pattern.
Zeemer
Jun 14, 2016
I love the color. It's very rare that you see a red throw or afghan but this is for Christmas so okay, let's do it. It helps indeed that the pattern is just right on the same page. Thanks.
jklm96 3372573
Jan 02, 2015
Just finished! But this is only my "practice" afghan. Now I'm starting my "perfect" afghan that I will enter in the county fair. Difficult, but BEAUTIFUL ! ! !
Motheroangels5 024 6747
Dec 11, 2014
Such a pretty afghan...trying to make it. I'm stuck on row 3. I see that the pattern says the free loops are the 2 in the front when it is turned. I'm not seeing what they are talking about.
ladycarlo
Aug 13, 2015
In one direction you crochet in the back loop and when you turn your work then you crochet in the front loops. Basically you will be crocheting in the same row using front and back loops.
Report Inappropriate Comment
Are you sure you would like to report this comment? It will be flagged for our moderators to take action.
Thank you for taking the time to improve the content on our site.