How to Weave in Ends (Crochet)
Crochet weave in ends so that you don't have any loose pieces in your finished project! We'll show you how.
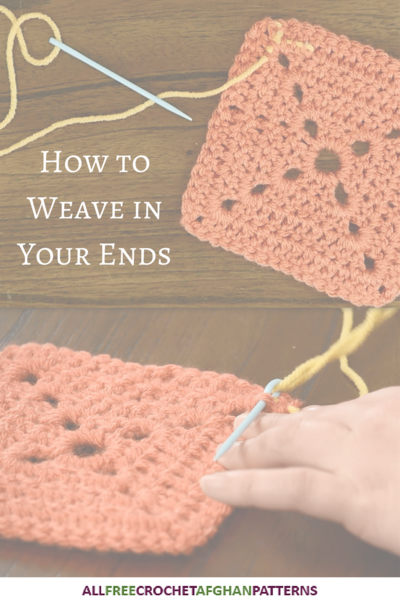
Learning how to weave in your ends can be extremely tricky especially when it comes to working with larger projects. It is inevitable that when you are coming up to finishing a crochet afghan pattern that you are going to need to know how to weave in your ends in order to make your project last longer.
Weaving in ends (crochet) is a great technique to master to help make your projects look clean and professional, but, weaving in ends correctly can also make your DIY afghan last longer and be safe to machine wash. This list of useful tips and tricks will make weaving in your ends to your crochet project so much easier.
Since blankets can bet quite the beating in everyday life, weaving in your ends will really make the difference in making your project more sturdy and durable. No matter what crochet project you are creating or what type of blanket you are working on, this crochet technique can make all the difference in the end result of your project.

Materials List
- Yarn needle
- Finished crochet project
- Scissors
How to Weave in Ends in Crochet
Instructions for How to Weave in Ends Crochet:
This method uses a yarn needle. Once you are finished with your crochet project, it's time to weave in the ends. It's not a strict step-by-step because each crochet project will be different. You may have multiple colors, stitches, and sizes to work with.
However, if you follow this tutorial, along with the tips and tricks for finishing your crochet project, you will have all the knowledge you need to hide loose ends.
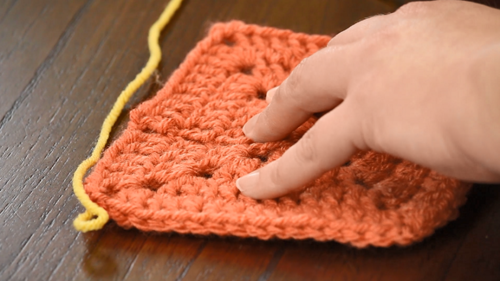
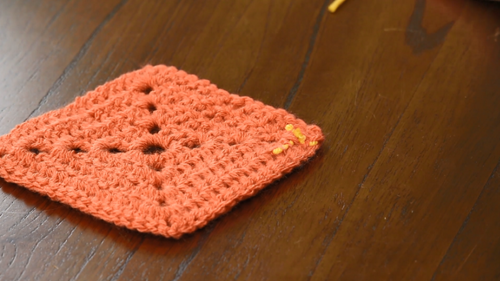
Note: This tutorial uses a contrasting color for the loose yarn. This is to show the separate weaving for visual understanding. You should have matching yarn for your end pieces!
CLICK ON THE IMAGES TO ZOOM IN.
-
Always Start on the Wrong Side: You should make sure to always be weaving in your ends on the wrong side of your work. However, if you don't have a wrong or right side, you don't need to worry about this step as much. The whole point of doing this correctly is that the ends will be hidden within the project.
-
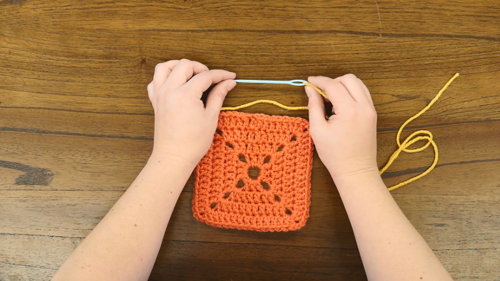
Skip the Hook: In order to weave in your ends, you are actually going to want a yarn needle and not a crochet hook.
Yarn needles are usually plastic but can be metal as well. They are usually found right next to the knitting needles and crochet hooks and they come in many different sizes and colors. -
Avoid the edges: In order for the ends to actually stay woven into your crochet project be sure not to work on the ends of your project. You want to work a couple of rows in and down in order to make sure you are getting your ends securely woven in.
-
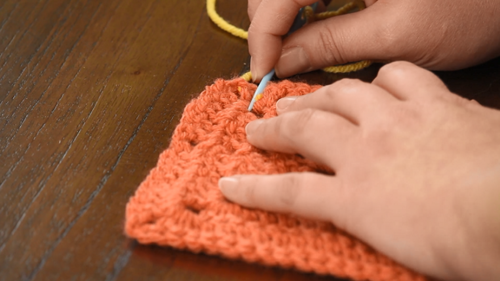
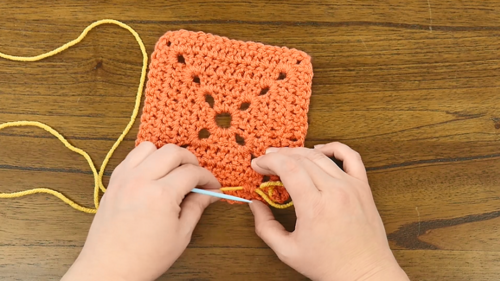
Find the Legs: These will be the spots where you have yarned over and pulled up. These are the perfect places to put your yarn when weaving in your ends because they are nice and sturdy. Legs resemble "bars" and so they are easier to weave into than other places on a crochet project.
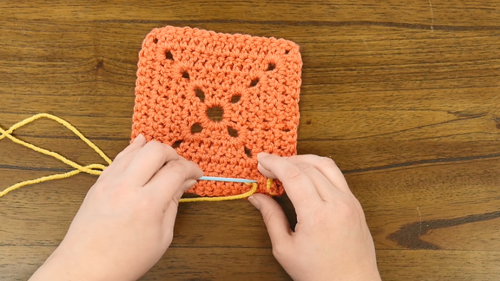
The two images in Step 5 below show the needle going through one, then two more sets of legs. -
Follow your stitches: Pull your yarn to the back of your project. Go into the stitch that is a row below your last stitch. Weave your needle into the two legs next to that stitch and repeat that two more times.
-
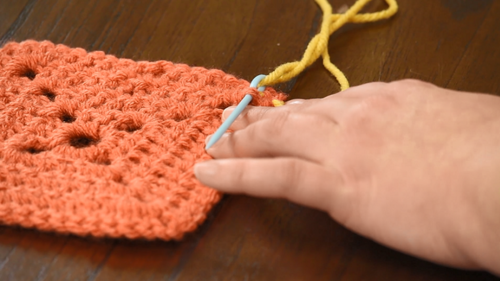
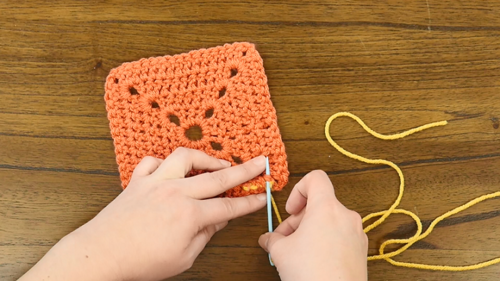
Bring it Back: Repeat that same process of weaving your yarn through the legs you already weaved through coming back toward your original stitch.
Be sure to skip the first stitch in your set of two stitches, and go into the second one instead.
Continue that process of skipping the front stitch and weaving your yarn into the second stitch until you go through all of the stitches. -
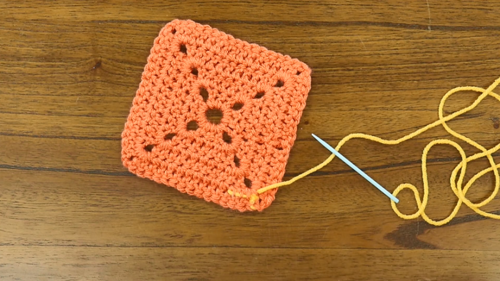
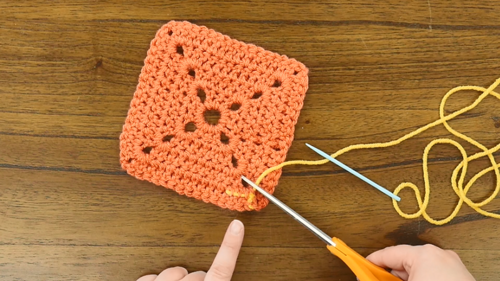
Cutting Time: Once you have finished bringing your yarn back to the front go ahead and cut your yarn. Be sure not cut too close to your project!
Read NextCluster V-stitch Crochet Tutorial
Your Recently Viewed Projects
Report Inappropriate Comment
Are you sure you would like to report this comment? It will be flagged for our moderators to take action.
Thank you for taking the time to improve the content on our site.

