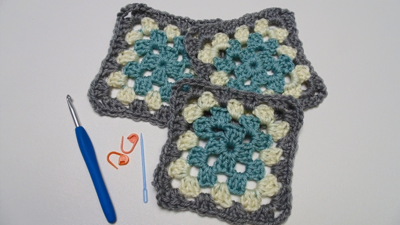
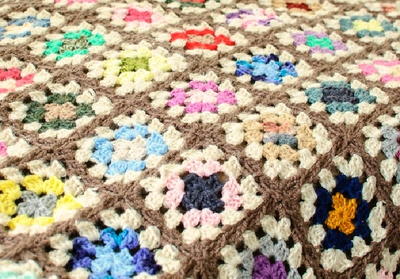
Three Ways to Assemble Your Granny Squares

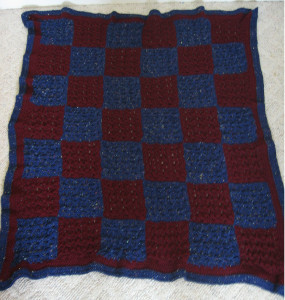
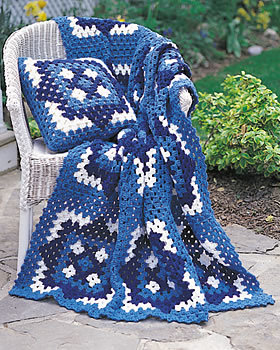
Some of the prettiest and easiest afghans to recreate are granny square afghan patterns. Check out this Three Ways to Assemble Your Granny Squares video tutorial to see how you can seamlessly put together a granny square pattern. All you have to do is pick a granny square pattern that you like, pick a method for how to assemble your granny squares featured in this video, and get going. These three different techniques are all super easy to master to do yourself, so pick which one you like best and get started!

Crochet HookH/8 or 5 mm hook
Materials List
- Finished granny squares
- Crochet hook
- Yarn needle
- Yarn
Three Ways to Assemble Your Granny Squares
How to Assemble Your Granny Square Using the Whip Stitch
-
Take two of your granny squares and make them face each other.
-
Whip stitch the edges together by taking your yarn needle and inserting it into the granny square that is on the inside.
-
Make sure to match the stitch on the opposite granny square as you work from the outside to the inside.
-
Then, go back into the same stitch you started with.
-
Repeat this along one edge of your granny squares.
How to Assemble Your Granny Square Using the Mattress Stitch
-
Insert your yarn needle into the center stitch of the corner of your granny square, and pull through.
-
Take your yarn needle and go in from the outside to the inside of the next stitch, and go through your other granny square from the inside to the outside.
-
Take your yarn needle and go from the outside to the inside.
-
Repeat this from the inside to the outside and then outside to inside.
How to Assemble Your Granny Square Using a Crochet Hook
-
Start with the granny square that is closest to you (the square on the outside), find your middle stitch of the corner, and pull a slip knot through that stitch.
-
With your yarn on the bottom, insert your hook into the matching corner, yarn over, and pull through both stitches.
-
Insert your hook through the next stitch, keeping your yarn underneath your hook. Insert your hook into the matching stitch, yarn over, and pull all the way through both stitches and the loop on your hook.
-
When you get to the end, you will just want to chain one and continue on to the next square.
Read NextWinter Jewels Lapghan