How to Dye Yarn Like a Pro
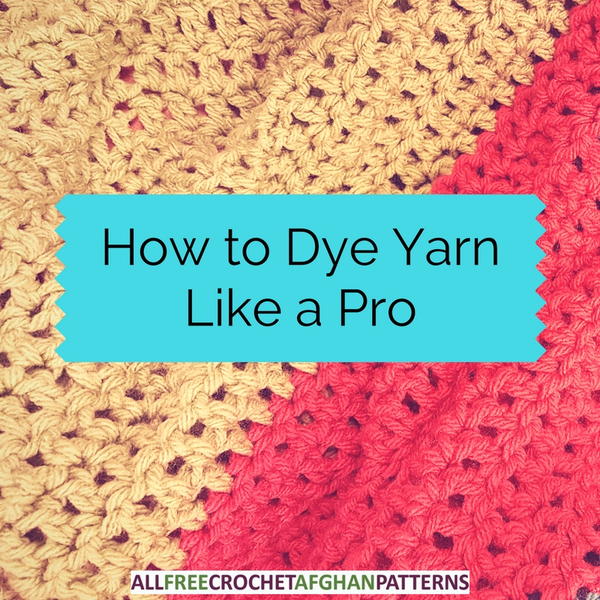
Just because the store doesn't have the yarn color you want doesn't mean you have to give up on that dream vision you have in your head. How to Dye Yarn Like a Pro will help you replace that color you just settled on and bring to life your most colorful crochet patterns with the hues that you want. Though it might seem like achieving rich, vibrant tones or soft pastels is something you have to be a professional to master, you can use the color dyeing crochet basics here to dye your yarn exactly how you want it.
Using regular household items like food color or kool aid, you can work up that crochet throw pattern or granny square afghan you've had your eye on. If you want to try something a little more technical, you can also check out the instructions for dyeing with a steaming pot and acid dyes. Whichever method you choose, remember to have fun experimenting. Embrace your role as an artist creating a masterpiece, with the freedom to create a piece that is tailored perfectly for you.
How to Dye Yarn Like a Pro
Below, we have two different ways to dye your yarn. One doesn't require any special equipment or unusual items, while the second will let you use more professional dyes and a steaming method. Experiment with both to find your personal preference!
General tips on yarn dyeing techniques
Before you start, make sure you know the basics. The success of a project often depends on excellent preparation, so run through the tips and instructions before starting!
-
Dyeing can be messy, so make sure you protect your clothes and other surfaces by wearing an apron or unimportant clothes and laying out old sheets or towels.
-
Wear gloves when working with the dyes and hot water. It is also a good idea to wear a respirator as you would with spray paint or an earloop face mask (like the ones doctors and dentists wear) if you are spending too much time hovering over the dye.
-
Household items like kool aid and food coloring work best on animal fibers but generally don't stay on other types of yarn like vegetable or synthetics.
-
Test your yarn. Don't waste an entire skein by not first seeing how the food coloring, kool aid, or acid dye reacts to your yarn. You can mix up the dye and stick a strand in to soak in order to get a general idea of coloring.
How to dye yarn with food coloring or kool aid in the microwave
This method is completely DIY. Everyone has an extra package of food coloring left over from dying icing or Easter eggs, and most pantries have at least one kool aid package that never got made. The heating part will take place in your microwave, so you really just need a suitable container for the equipment. One thing to note: use unsweetened kool aid for best results.
-
Get your yarn into one big loop; you can wind it around a bucket or box to help make this skein. Tie a separate piece of yarn or string around the skein in a few places so that it doesn't get mixed into a giant knot when you start dying.
-
Clean your yarn. This can be done by letting it soak in a sink or bathtub for about half an hour to an hour in slightly warm water, with an appropriate soap if you wish—do not use hot water or your yarn will felt or shrink, and don't use cold water or the fiber will not open up to absorb the dye later. Make sure the skein gets fully saturated.
-
Make your dye while you wait. If you are using food coloring, mix about 1 1/2 cups of hot water with 1/2 cup of white vinegar and your desired amount of coloring (probably about 20 drops for a medium value, less for pastel and more for a dark color). If you use kool aid, dissolve your chosen combination of powders in water.
-
Dry your yarn without wringing it out. Towel dry it or carefully squeeze moisture out. It should be damp for dyeing.
-
Put the yarn in a microwave safe container that will be big enough to hold it and your dye liquid. Pour the color on top of the yarn and make sure it has reached all parts of your yarn, using your hands to push the yarn into the solution if need be.
-
Cover the container with lid or plastic wrap, and put it in the microwave on high for two minutes, check to make sure the dye hasn't dried out, then microwave for another minute.
-
You can see when you are done by checking whether the yarn has absorbed all the color from the water, which should now be less colored and more cloudy or even clear. If it isn't, you can keep going in one-minute segments.
-
Let it cool, then dry the yarn like before with gentle squeeing.
-
Soak it again in your sink or tub, as you did before in warm water. Take it out and dry it, then repeat the process until the water is clear. If you used kool aid, add some soap to the water for cleaning.
-
Dry the yarn all the way now by squeezing, towel-drying, and hanging the yarn. Once it has dried all the way through you can use it.
Dyeing your yarn with an acid dye in a steamer
This method basically steams the dye into your yarn, so you will need a large pot and a steamer or rack to hold your skein above the boiling water. This will produce an interesting texture and allows you to create variegated yarn with stripes, rather than simple immersion into one color. If you're feeling adventerous, this is a great way to try out some new skills! You can use any type of acid dye with this method, and remember to refer to the instructions for color ratios for your specific brand. This can work on both acrylics and wool.
-
Prepare warm water and add an equal amount of vinegar. You can also add a few drops of gentle soap like Synthrapol, which is made especially for priming and cleaning yarn before dyeing.
-
Get your yarn into one big loop; you can wind it around a bucket or box to help make this skein. Tie a separate piece of yarn or string around the skein in a few places so that it doesn't get tied into a giant knot when you start dying.
-
Soak your yarn for anywhere from an hour to overnight to fully soak the fibers and prepare them to receive the dye.
-
Dry yarn until it is only damp.
-
Lay out plastic wrap (several layers) to put your yarn on--you'll be wrapping the skein up in this after you put on the dye.
-
Dissolve your dye in hot water. For a medium shade of color (not pastel and not too dark), you should use 2% of the weight of the fabric, which will generally be about 1/3 of an ounce per pound.
-
You can put the dye in squeeze bottles or use a spoon to drop the liquid onto your yarn. This lets you apply a pattern like stripes to give you variegated yarn. Apply the dye in your chosen design, flipping it over to make sure the dye reaches the bottom and center of your skein.
-
Wrap your yarn up in a plastic wrap burrito, making sure the ends are secure and nothing will get out. Use another sheet if you feel it is necessary.
-
In your steamer pot, heat the water on high to produce plenty of steam and put your wrapped skein into the steaming basket. Put on the lid and leave it for 45 minutes to an hour. Make sure your water doesn't boil out.
-
Remove the skein and let it cool before unwrapping and rinsing. When it has lost most of its heat (you don't want to do this too early and felt your project), rinse your yarn in lukewarm water several times to get excess dye off.
-
Let it dry, and then it is ready to use.
References:
-
How to Dye Yarn from Lorene Eppolite of crea8tioncrochet.com
What color do you plan to capture with these dyeing techniques?
Read NextYarn Weights Chart [Infographic]


![Yarn Weights Chart [Infographic]](http://irepo.primecp.com/2017/06/336145/Yarn-Weights-Chart-Infographic_Large400_ID-2297604.jpg?v=2297604)
