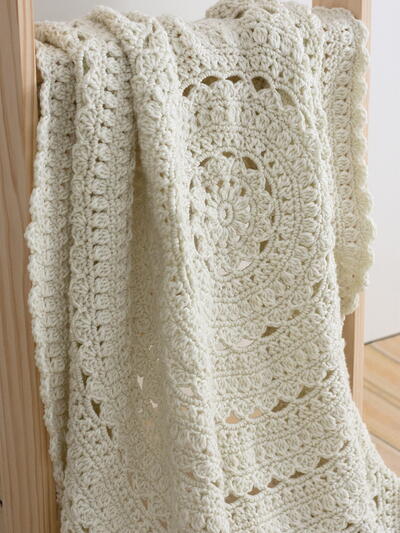
Catherine Wheel Crochet Stitch Tutorial
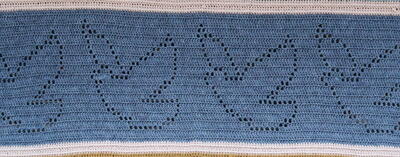
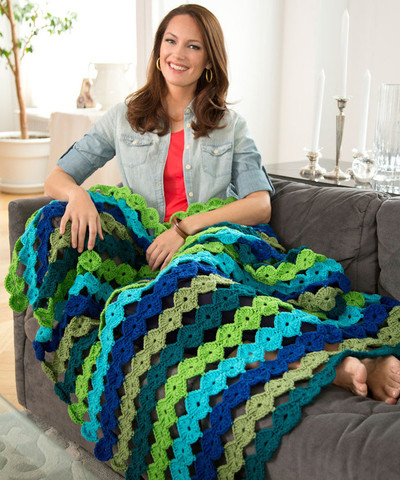
Also known as the harlequin or starburst crochet stitch, the Catherine wheel is one of the most beautiful stitches in crochet.

The Catherine wheel, harlequin, or starburst crochet stitch, is one of the more advanced crochet stitches you can learn. Follow along with our resident crochet expert, Chris Hammond, as she walks you through the steps to stitch your own Catherine wheel or starburst stitch.
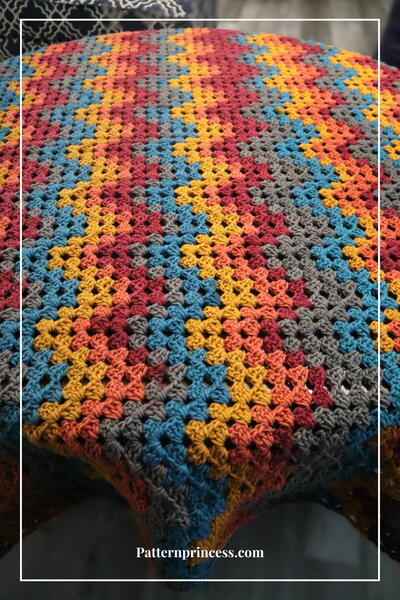
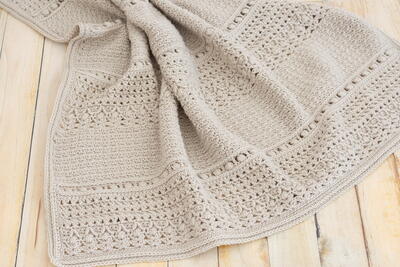
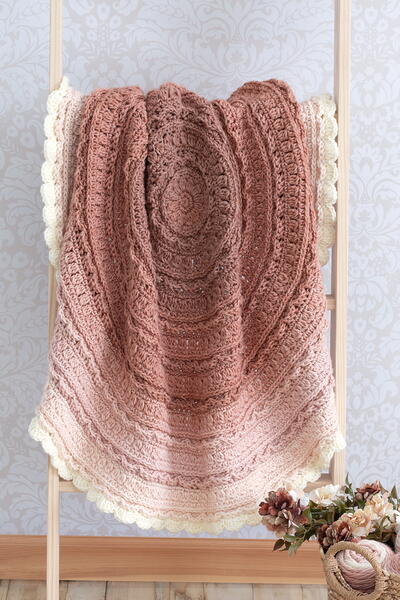
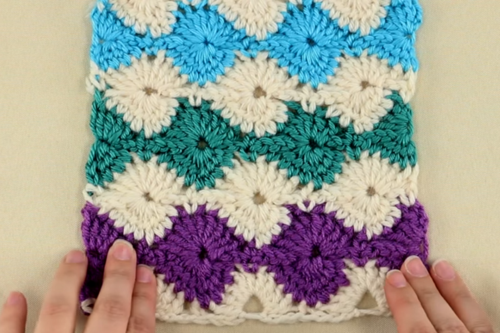
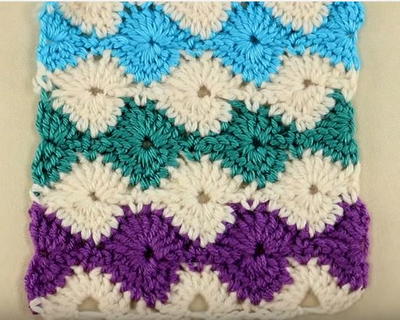
Then, once you've mastered this crochet stitch pattern, find a Catherine wheel stitch baby blanket pattern to really wow the crowd. Because it's such a unique crochet stitch, adding it to any pattern will make it stand out. The circular shapes look even more amazing when multiple colors are used, so it's worth experimenting and planning out.

Materials List
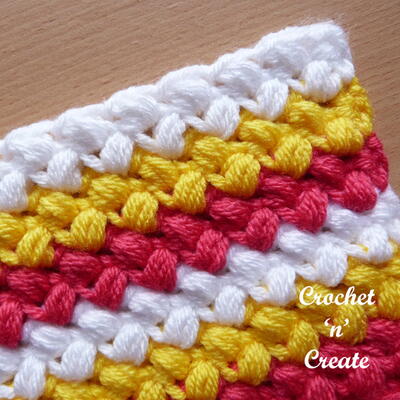
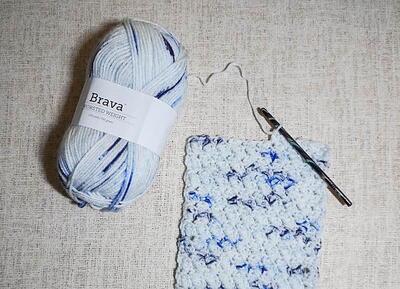
- Yarn of choice (this tutorial uses 4 colors)
- Crochet hook of choice
- Scissors
Starburst/Catherine Wheel Crochet Stitch
How to Make a Catherine Wheel Pattern:
If you have a pattern in mind, then you can still use this tutorial to learn the general process of making the wheels. If you do not have a pattern, then follow along with this tutorial with starts with a foundation chain of 25, either using the video above or the written version below.
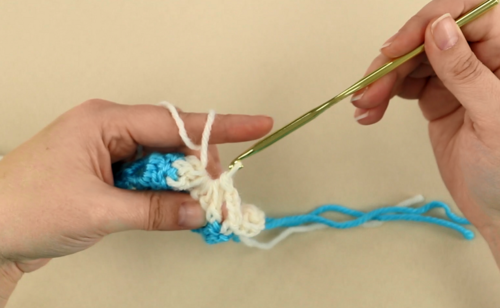
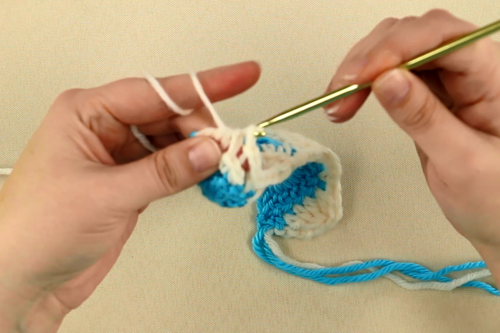
With the multiple color changes, it is recommended to weave in the ends as you go, row by row. Learn how to weave in ends here.
-
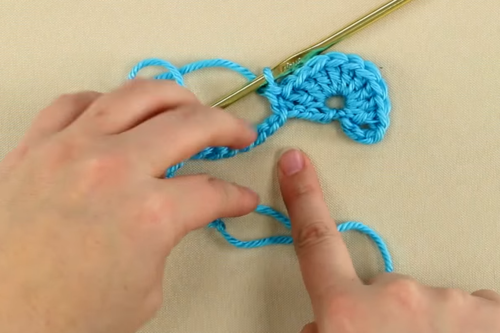
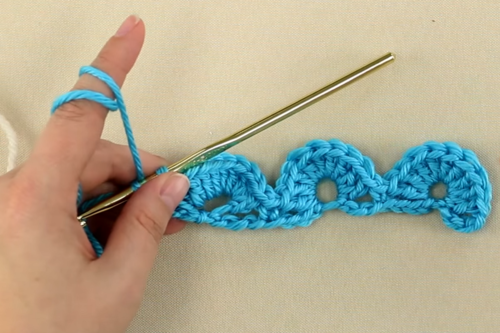
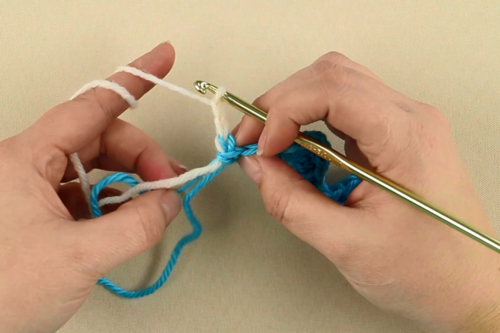
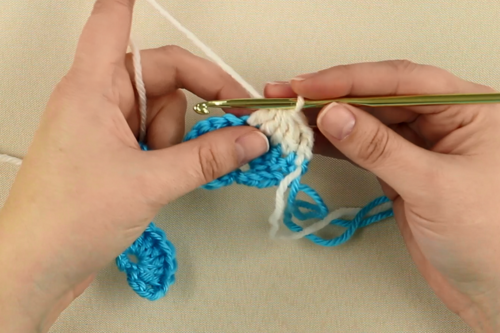
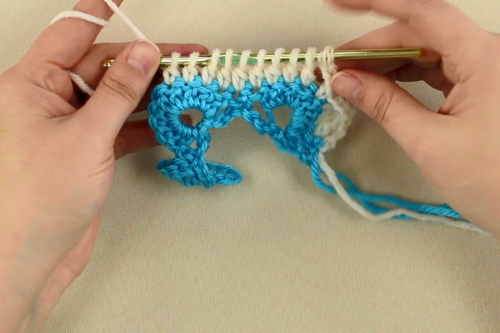
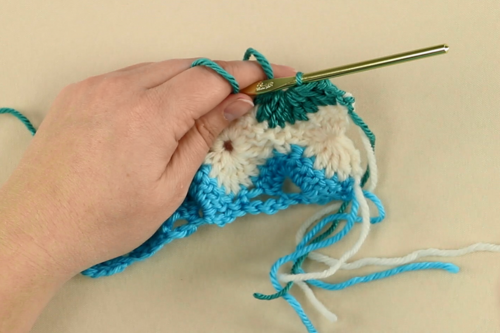
Row 1: Start with a foundation row of 24. Chain 1, which completes it at 25.
-
Skip four chains. In the 5th chain, work 9 double crochets. This creates a shell.
-
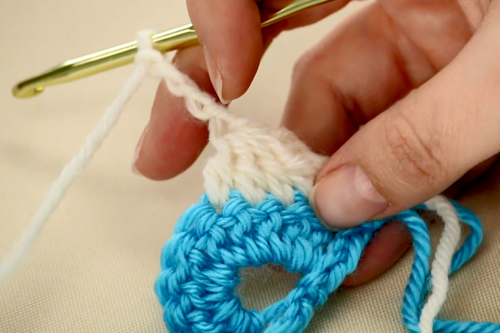
Skip three chains. In the 4th chain, work a single crochet.
-
Repeat: skip 3, and in the fourth stitch, work 9 double crochets. Skip three, work a single crochet. All the way across.
To end the row, skip three and work a single crochet (only do half of the single crochet if you are swapping colors. See Step 5 to finish). -
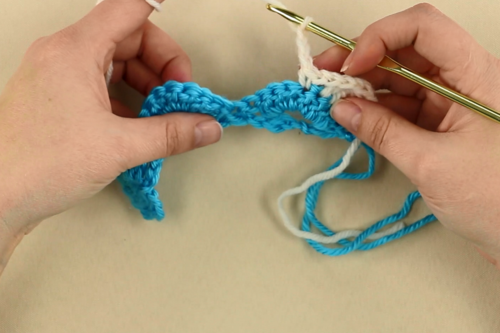
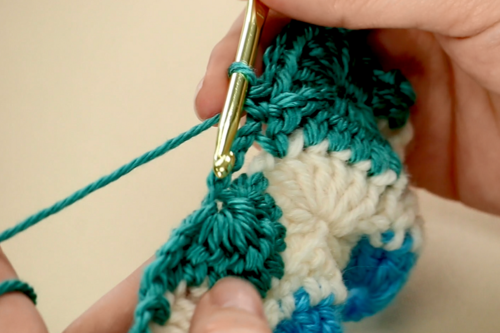
If you want to change colors, do so now. To do this, cut the yarn of the first color. Pick up second color yarn piece, and pull both colors through to finish the single crochet. Then drop the first color.
-
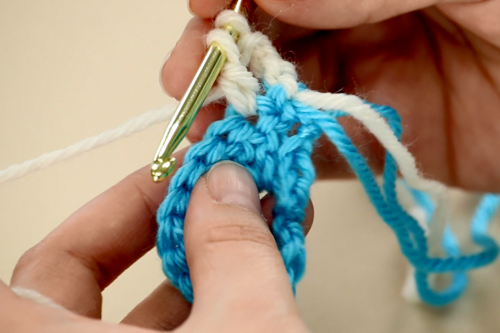
Row 2: With new color, chain 3. TURN.
-
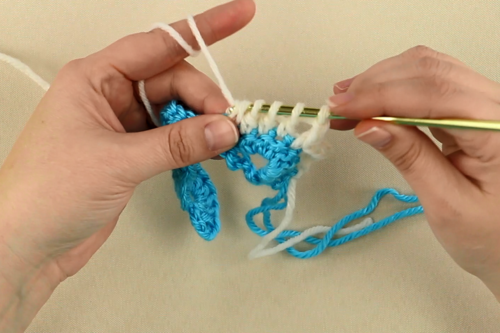
Make a half wheel by working double crochets together. In this case, four double crochets together over the next four stitches.
Start a double crochet in the next stitch. Yarn over and pull through two. -
Yarn over and go into the next stitch and do a partial double crochet.
-
Yarn over and go into the next stitch and do another partial double crochet.
-
Yarn over and go into the next and do a 4th partial double crochet.
You will see with the four double crochets, there are five loops on your hook. -
Finish the stitches: yarn over and pull through all five loops.
-
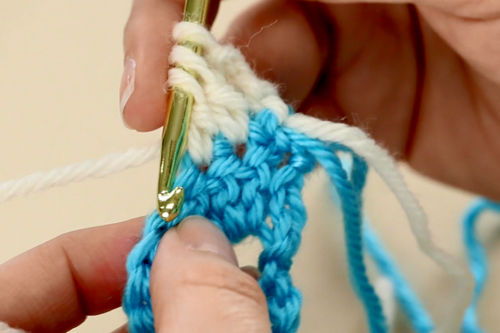
Chain 4.
-
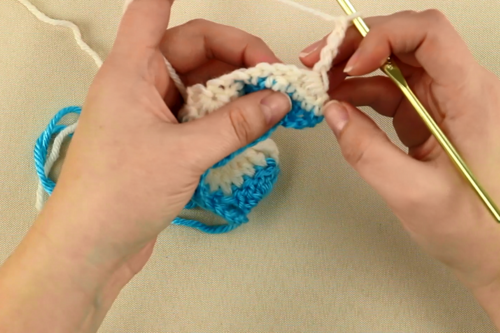
Single crochet in the next stitch (Notice that this stitch goes in the top center of the wheel below. If yours matches this, then you are on the right track).
-
Chain 3.
-
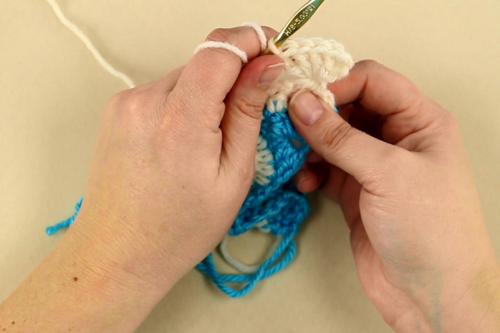
Work into the valley between the two wheels. To do this: work 9 partial double crochets together over the next nine stitches. Once you are finished, you will have 10 loops on your hook.
Note: Keep the tension loose since you will have a lot of loops on your hook that you will need to yarn through at the end. -
Yarn over and pull through all 10 loops.
(Repeat the process you have been following with the next 4 steps and so on.) -
Chain 4.
-
Single crochet into the top of the next wheel/stitch.
-
Chain 3.
-
Double crochet 9 together.
-
Chain 4.
-
Single crochet in the top of the next wheel/stitch.
-
Chain 3.
-
With five stitches remaining including the turning chain, finish off: 5 double crochet together over the next five stitches.
-
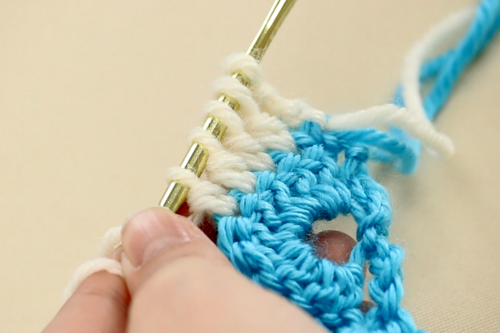
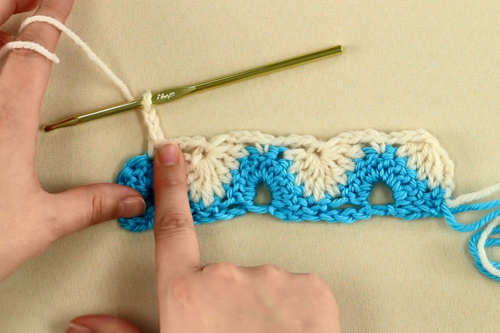
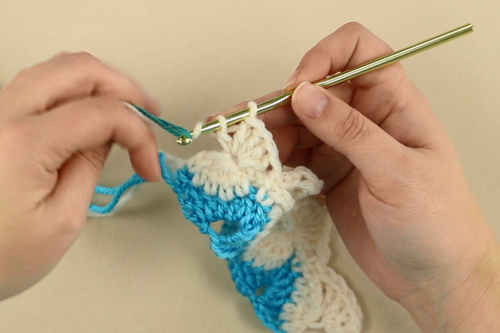
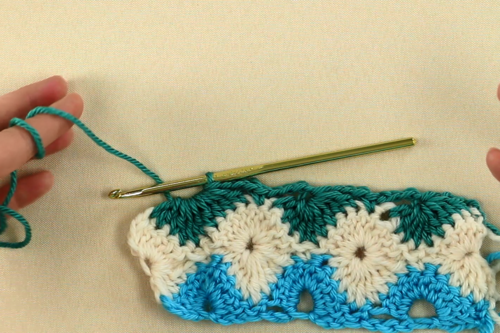
Row 3: Chain 4. TURN.
Note: You can change color if you want but keep the same color if you want the full wheel to be the same color. -
To make a half wheel at the beginning: Work 4 full double crochets into the “eye” or pocket that each group of the double crochets create.
Note: The chain 4 counts as the first double crochet. There should be five on the bottom, five on the top. -
To finish the wheels in the row, do the following: Find the single crochet in the row below and do a single crochet into that stitch. When you see a 9 double crochet, do 9 double crochet into the eye/pocket/hole of the wheel below. Do this all the way across until you reach the spot for the final partial wheel.
-
To finish the row: Find the eye of the five double crochet together from the end of the last row. Work 5 double crochet into the eye (if you are changing colors, see note).
Note: If you are going to change colors, do so now by finishing the last double crochet yarn over with the new color along with your current color. Then drop the row 3 color. -
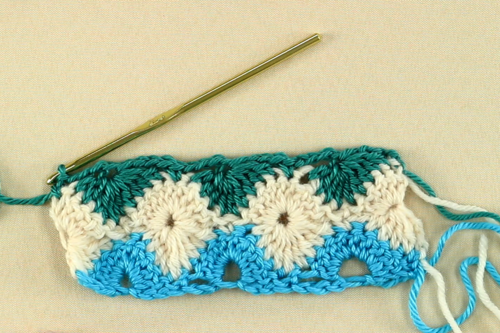
Row 4: Chain 4. TURN.
-
Work 9 double crochets together over the next nine stitches as you have done previously. Continue to repeat the previous process for the row with the next set of steps below.
-
Chain 4.
-
Single crochet into the top of the wheel below.
-
Chain 3.
-
Work the 9 double crochet together.
(Repeat across the row until you have reached the end of the last 9 double crochets together.) -
To finish Row 4: Chain 4.
-
In the turning chain of the row below, work a single crochet.
-
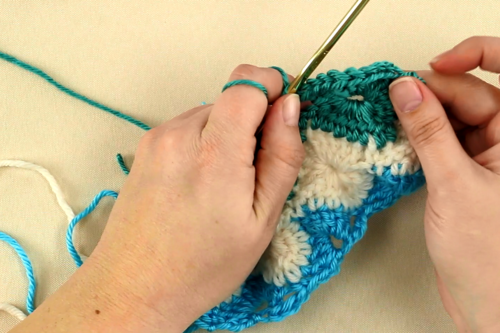
Row 5: Chain 1. TURN.
-
Work 9 full double crochets into the eye/pocket of the partial row below.
-
As in previous rows, work a single crochet where you see a single crochet below, skipping the chains.
-
Where you see nine double crochets below, work 9 double crochets into the eye. Repeat these processes until you are at the end of the row.
-
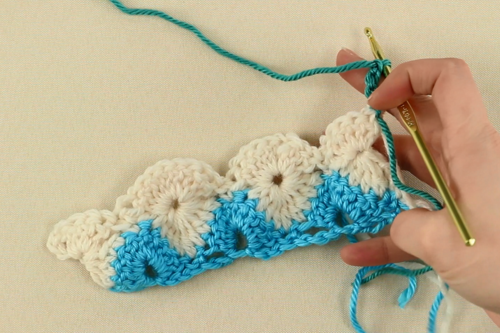
Simply follow the steps you have completed above for each specialized row to create your full piece.


What color combination do you want to use for this pattern?
Your Recently Viewed Projects
Thanks for your comment. Don't forget to share!
puppyw30 7673037
Feb 03, 2018
I am excited to have found this pattern. My Mom made this for me years ago and I never knew what it was called. This is the first time I have seen this pattern. I will have to give this a go. By the way my name is Catherine!
Weberme
Sep 15, 2016
This is a beautiful pattern but a little more advanced than some. I must admit though the video does explain it very well. I like to watch the videos first and than use a pattern. I am going to be practicing this one first for awhile because it is such a beautiful pattern and I love that you can change colors. I think that is what makes it easier to do because you can tell where you are at because of the color changes. Has anyone tried this yet? Is it very complicated?
Report Inappropriate Comment
Are you sure you would like to report this comment? It will be flagged for our moderators to take action.
Thank you for taking the time to improve the content on our site.