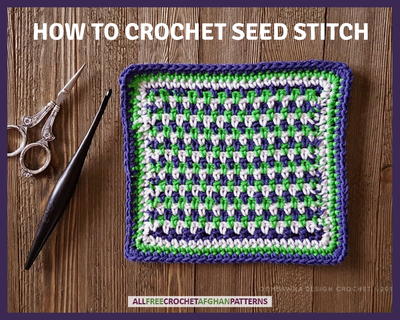
Crochet Seed Stitch Tutorial

The seed stitch is an easy way to add texture to any of your crocheted projects, and this Crochet Seed Stitch Tutorial will help you learn how to crochet seed stitch from start to finish using both photos and written instructions.
The seed stitch is a great way for beginning crocheters to add variety to their projects since this textured crochet stitch is created using just single crochet stitches.
This tutorial was written by Rhondda Mol from Oombawka Design Crochet. Visit her site for lots of tips for beginners, crochet tutorials, free patterns, round-ups, and more!
How to Crochet Seed Stitch
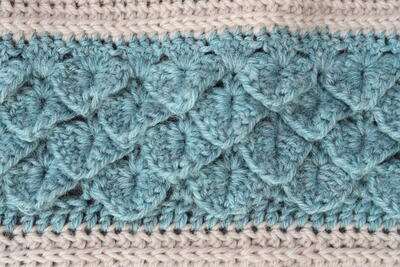
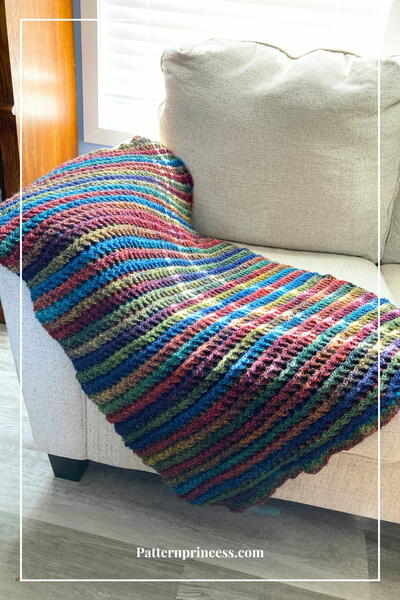
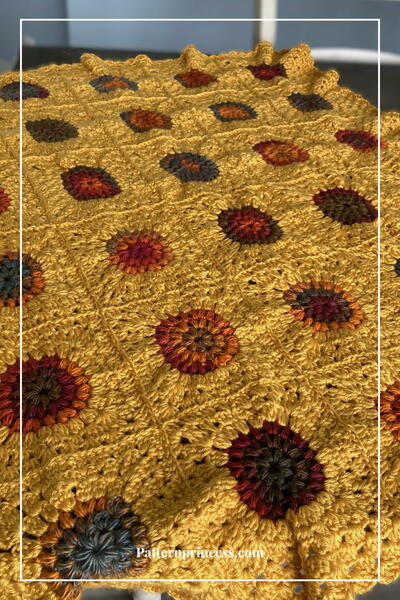
The Seed Stitch is sometimes referred to as the Linen Stitch. It is a simple stitch, made up of single crochet stitches and chain stitches. This stitch pattern can be crocheted for a variety of different projects using different color combinations and it looks beautiful as an afghan, or afghan square.
The seed stitch pattern is worked back-and-forth in rows. Changing colors can be done at every row end, or you can wait and change colors until after you have worked a few rows to create wider stripes of color and a totally different look.
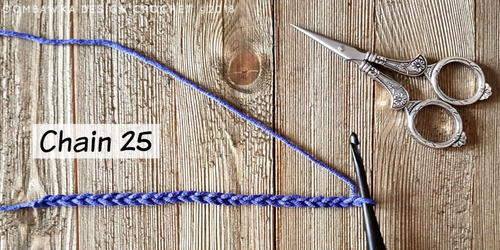
To begin you will need to chain a multiple of 2 stitches plus 1.
Stitch Multiple:
Chain a Multiple of 2 +1
Abbreviations:
beg - begin
ch - chain
ch1sp - chain 1 space
R - row
rep - rep
sc - single crochet
sk - skip
st / sts - stitch / stitches
* – Repeat the instructions between the asterisks the number of times indicated. This repeat will contain of multiple instructions.
[] – at the end of the row – the total number of stitches
Notes
-
Images follow the written instructions. CLICK ON ANY PICTURE TO ENLARGE.
-
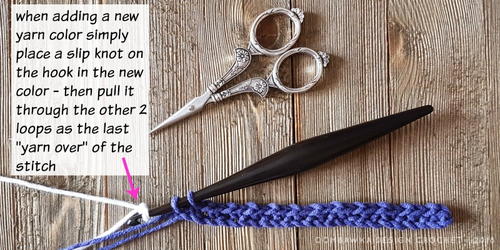
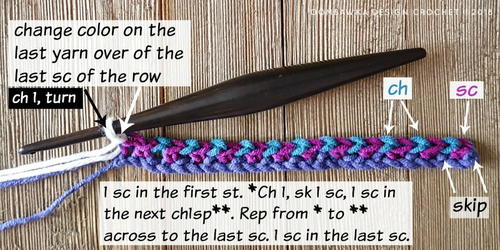
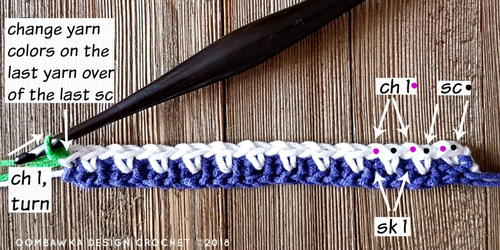
Color changes are made on the last yarn over of the last sc of the row. When you are adding a new color of yarn simply add the new color by way of a slip knot right on your hook and pull the slip knot through as the final yarn over of the stitch.
-
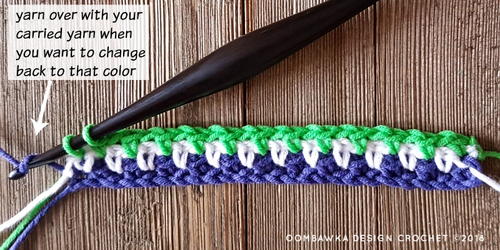
Carry your unused yarn up the side of the project. Be sure to carry the yarn loosely or else the edges of the project will become too tight and they will pucker and cause the project to bunch up on the sides. See the Finishing Section at the end of the stitch tutorial to help you with this technique.
-
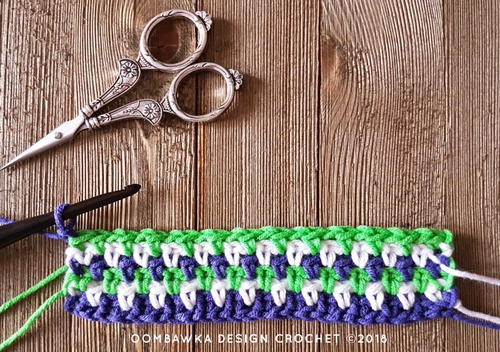
Color pattern repeated for sample: Color 1(purple), Color 2 (white) and Color 3 (green)
Seed Stitch Instructions
-
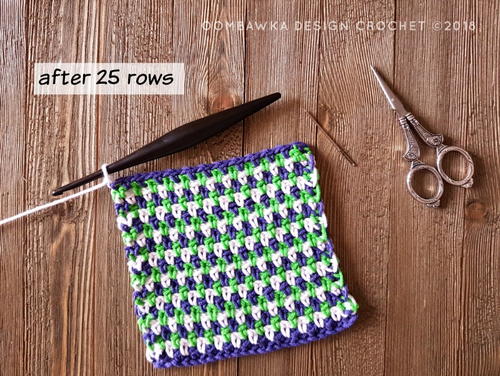
Color 1 (purple): Chain a multiple of 2 + 1 stitches. For this example, I chained 25 stitches. Using Medium Weight Yarn [4] and a 5 mm (H) hook this creates a project 5.5 inches wide.
-
Continue with Color 1 (purple): 1 sc in the first st. *Ch 1, sk 1 sc, 1 sc in the next ch1sp**. Rep from * to ** across to the last sc. 1 sc in the last sc; changing to Color 2 (white) on the last yarn over of the last sc. Ch 1, turn. [24]
-
Rep Step 2; changing colors on the last yarn over of the last stitch of each row until your project reaches your desired length. For the square I made I crocheted 25 rows in total before proceeding to the edging.
Finishing
-
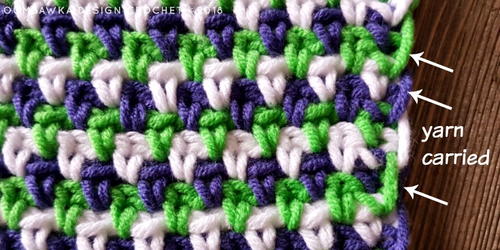
When you carry your yarn ends up the side of the project you will have loops of unused yarn like in the image below. These can be easily hidden by working over them when you add your edging.
-
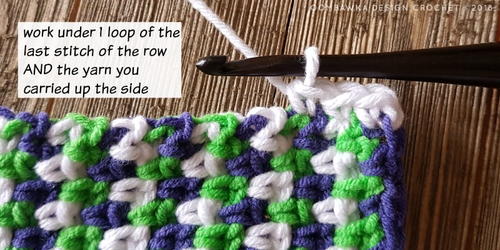
When you are crocheting the edging around the outside of your project, instead of working under just one loop of the last stitch of each row for the side edges, work over the carried yarn end and one loop of the last stitch, like this:
-
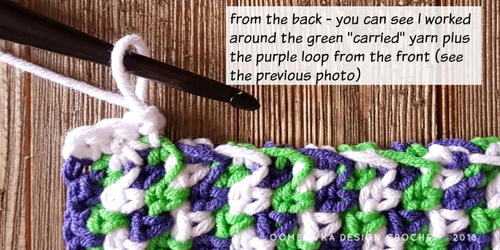
You can see how I worked under the purple stitch in the above image. Here’s a look at the back of the project too – so you can see I also picked up the carried green yarn.
Read Next26 Unique Crochet Stitches